Cool Middle School Art Jewelry Holder Pinch Pots Jewelry Holder Pinch Pots With Lid
Nuts
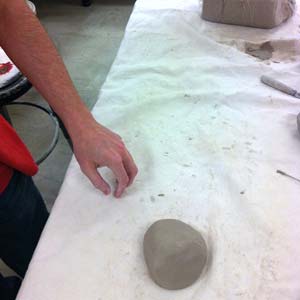
Clay is an bawdy material of fine grained minerals with traces of metallic oxides and organic matter.
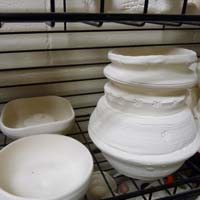
Pottery tin can be created without the use of a potter's wheel. The potter'due south bike did not appear in history until only iv 000 years agone. The main structure methods were pinch and curl methods.
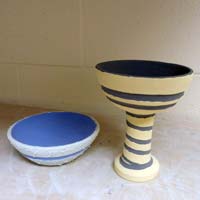
Clay has been used for many things throughout homo history: a writing surface, building material, money, storage containers, cooking vessels and serving plates, electronic device parts, ceramic shields or tiles are used on infinite ships. Ceramics is a major tool for dating cultures in archeology studies.
the iii hand-building techniques
pinch
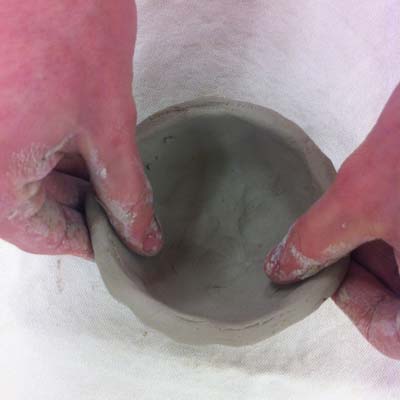
Pinch pots are created by using your hands to shape the clay. Pinch pots are some of the oldest archaeological artifacts found on the planet.
- Brainstorm by forming a polish brawl that fits in your palm (fist size).
- Press the thumb into the center half-fashion to the bottom.
- Circumduct the ball while pressing the walls out evenly with the other hand.
scroll

Gyre pots are created by pressing coils of clay together.
- Keeping the fingers flat, form clay into sausage shapes.
- Curlicue them into ropes (coils)
1/4" to 1/2" thick - Coils are pressed together creating a pattern. Gaps are filled in with small assurance of clay.
- Inside of the wall tin can be smoothed.
- Join the walls & the bottom.
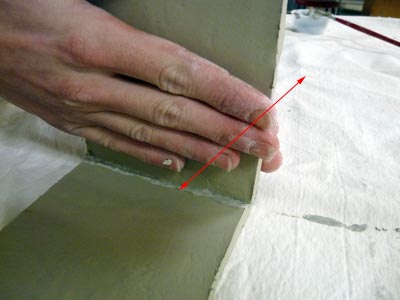
slab
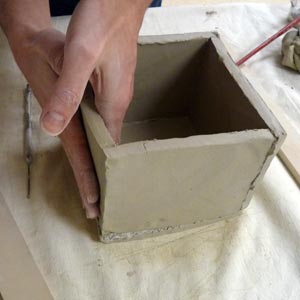
The slab building technique involves rolling out clay to an fifty-fifty thickness - usually 1 cm - and so cutting shapes, folding, bending, manipulating and joining together to course a finished object.
- Roll slabs of dirt
- Cut out the sides
- Join the sides (score and slip!!)
- Adhere the bottom
- Cutting out the excess clay from the bottom slab.
Other techniques include:
wheel throwing, relief (high, low, sunken), mold making & slip casting, etching, sculpting, etc.
(remove air bubbles)
throw
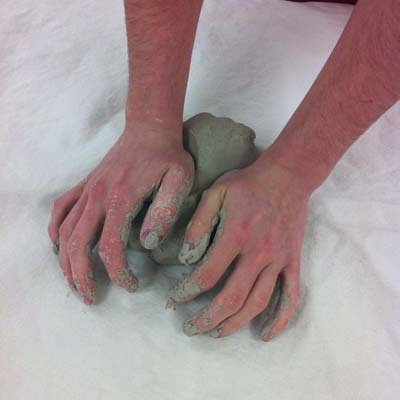
wedge

beat to form a ball
drying stages of clay
sideslip
(liquid form of clay)
casting and cementing pieces
plastic
wedging, manipulating, sculpting,
throwing on the wheel...

leather hard
well-nigh decorating is done, carving, stamping, building, etc..

bone dry out
the driest stage of clay, 0% moisture, ready for bisque firing
firing stages
greenware
unfired pottery that is bone dry (most fragile state)
bisqueware (bisque)
unglazed pottery that has been
fired once
glazeware
ware that has coat applied and is waiting to be glaze fired
joining pieces
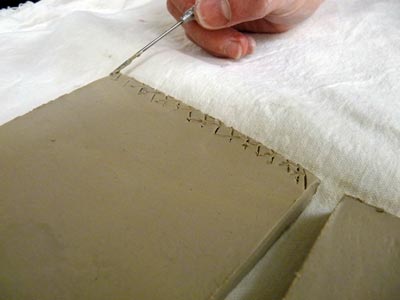
1. score
Roughen both surfaces that you are joining. Use a cross-hatching design. Utilize a needle tool, wedge tool with "teeth", etc.

ii. slip
Employ enough slip to both surfaces. Slip will "cement" the pieces together equally a gum.
three. rock & press
Rock back and forth while applying some force per unit area on the slice. This will ensure that the slip will fill in all gaps and removes air pockets.
tools
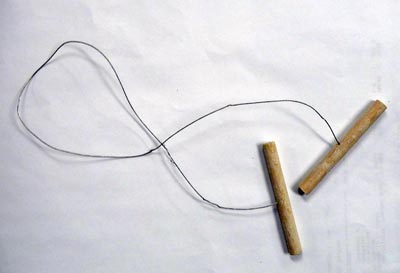
cut-off wire
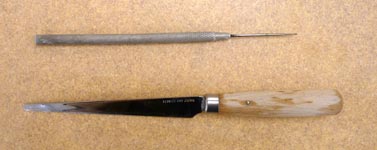
needle tool and fettling knife
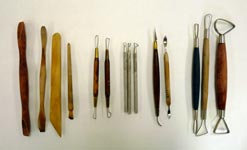
modeling tools

rolling pin and guides
drying
Clay project should dry for at least vii days earlier bisque firing to ensure it does not blow up in the kiln.
Wet (sudden change of h2o into steam) and air bubbles (trapped air expands) can crusade the explosion.
firing
bisque firing
we apply low-fire clay
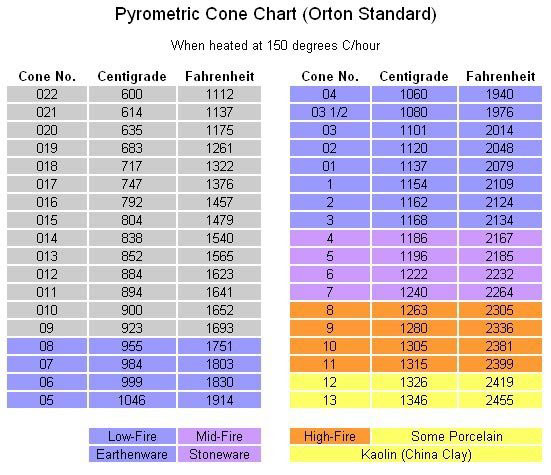
Cone 04
Temperature 1940 F
glaze firing
we use mostly depression-fire glazes
Cone 05-06
Temperature 1830-1914 F
glazing
- use at least 3 coats
- apply coats evenly, wait for a coat to dry earlier applying the next one
- exercise not apply glaze on a bottom surface - the ane that will be in contact with the kiln's shelf.
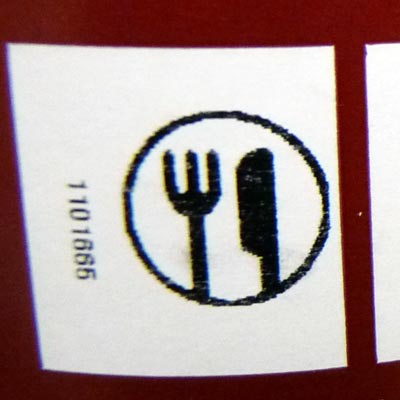
wipe it clean with a moisture sponge before turning in for coat firing - if your finished piece will be in contact with food - look for food safe marking on a glaze jar.
All glazes that are safety for food contact are labeled with one of the post-obit signs:

the 10 golden rules of ceramics
- Clay must exist thoroughly covered up with a plastic pocketbook to keep it from drying out. This applies to works in process and moist clay.
- Clay dust can be harmful if you are exposed to it for long periods of time, and then continue your area clean, clay scraps off the floor and clean with water and sponge.
- Clay should exist no thicker than your thumb.
- In order for clay to stick together information technology must be scored and and slipped together while the clay is moist (plastic) or leather hard.
- Wedge dirt to remove air bubbling, reach compatible consistency, and to line up the clay particles.
- Trapped air can cause clay to explode. So hollow out sculptural forms and put needle holes through enclosed forms for air to escape.
- Don't glaze the bottom of the slice.
- Wash the piece before glazing.
- Handle your project with two easily at all times. In other words - exist careful! - information technology's your hard work.
- NEVER handle another person's work even if it looks cool!
Source: https://juliannakunstler.com/ceramics1.php
Post a Comment for "Cool Middle School Art Jewelry Holder Pinch Pots Jewelry Holder Pinch Pots With Lid"